

We’re going to take a closer look at the iconic OPTIMA 1/10 RC Buggy Kit and see what it has to offer. Let’s get right into it!
Buy it here: Shop Now.
Summary
- The History of The OPTIMA 1/10 RC Buggy Kit
- What is Inside OPTIMA 1/10 RC Buggy Kit
- Watch The Unboxing and Full Build Review
Background on the OPTIMA 1/10 RC Buggy Kit
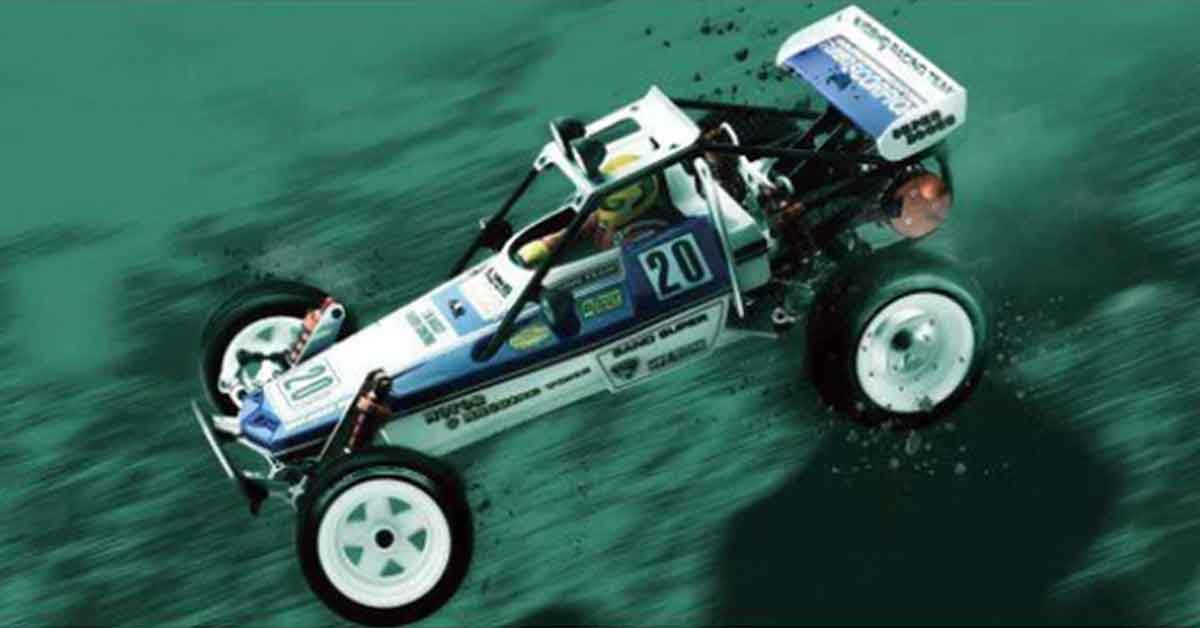
The OPTIMA 1/10 RC Buggy is a four-wheel-drive race car that was initially introduced in 1985. When it was first released, it was considered groundbreaking and was definitely technologically advanced for the time. In fact, the OPTIMA 1/10 RC Buggy is considered one of the forefathers in terms of modern buggy design and serves as a major influence on many modern four-wheel drive race cars.
What Do You Get?
Right off the bat, you will be greeted by a beautifully presented box. It contains all of the blow molded and blistered parts, many of which have been updated for the re-release in order to meet the modern standards and keep up with present models. New parts, such as a belt drive, have also been introduced.
Polycarbonate Parts

In comparison to current models, the body has far more detail and is also noticeably larger in scale. In terms of figures, the driver goes against the usual offerings of Tamiya that are injection molded. The kit features a vacuum-formed silhouette made of Lexan polycarbonate with an attachable plastic helmet.
Metal Parts

The primary chassis rails and the underguard are both made of solid aluminum. The underguard has slotted holes where they used to tension up the chain along with the belt tension.
It features adjustable motor mounts and a finer tooth counter, giving it greater gearing options; the model most likely has longer elongations. The countersunk holes are beautifully machined out of aluminum. The front and rear differentials are both bevel gear drive types, which are fairly similar to what we use today; they would be oiled but wouldn't be filled like the modern differentials.
It has two basic drive systems: a chain drive and a belt drive. The chain drive was a standard in the 1985 kit. Although it is retro, it isn’t as dependable in the long run. Due to this, they opted for the belt drive system, which was more practical. In fact, this system is employed by gear-driven cars because of its functionality and is one of the new parts introduced in the re-release.
The steering knuckles are made of superbly cast aluminum. The bearing recesses are machined and have cartridge-style shock absorbers. In a cartridge system, the shocks are filled from the bottom, the cartridge seals are constructed from the bottom, and the system is completely bled from the bottom. Consequently, even autos used damp units similar to that up until the mid-1990s. Because it has completely adjustable spring holding collars, you can modify the damper unit's ride height gradually rather than by utilizing things like C gaps and such, so that’s always a welcome touch.
Tires

The tires are relatively small and appear to be made of rubber. The compound has a soft feel to it. The tires would have been as solid as plastic back in the day, in 1985. The earlier models wouldn't have allowed you to squeeze the tires and wouldn’t have as much grip as the modern-day tires. Appearance-wise, it has very period-appropriate pin and thread designs.
Because these tires would be difficult to replace in the modern day and age and are not a common size that we use anymore, it is recommended to only use them as a shelf queen if you have no plans to do anything else with them.
Plastic Parts

The quality of the plastics in the injection molding on this optima kit is absolutely fantastic, a lot better than the ones they had back in 1985. There are left and right-style wheels and a fiberglass top deck that features a stunning red molded shock that would have been a game changer back in the day. The wheels are rather small by modern standards and do use modern-style hex, so it is really easy to adapt to a modern style wheel.
There are also tools, a plastic driver's helmet, gearbox casings, and suspension tablets contained within the packets. All of the parts seem and feel elegant; they are definitely worth checking out if you can.
Decals

The sticker kit is huge and includes high quality decals that are very period accurate. The decals are enclosed in a locked plastic packet and come with instructions. There is a piece of tape for the window masks within the plastic packages; a feature that didn’t exist in the 1985 version. Back then, the modelers had to carefully mask each window manually.
There are three sheets of decals included. If you want to, you can paint over the glossy blue and yellow stickers, which are used to customize the body and create a one-color paint job. There’s also a complete decal sheet for the driver figure and several of his helmet's accessories, and a bonus sticker of a motorcycle rider on the side of the sheet that people can paste on tool boxes and other items.
The Manual

The manual goes into details on how to use both the brushless and brushed motors. It includes descriptions of how to use the various tools and wrenches that come with the kit. Additionally, it introduces various power packs, battery systems, and applications. It has a comprehensive list of every spare part for reference and explains how to assemble all the metal elements, beginning with the differentials.
There are two assembly methods available for the drive system in the instruction manual if you decide to use a chain drive system or a belt drive system. Both assembly methods come with a clear explanation, illustrations, and instructions.
Next, we have the gearbox and all the bearings that go with it, as well as instructions on how to attach the chain and which way it should point. After putting the chain drive on and installing the gearbox, we check the tension before mounting the gearbox to the lattice-style chassis. It has an inbuilt saver, which is typical of the spring-loaded cam mechanism that many eight-scale race buggies still have today.
The spur gear has a slipper assembly that—along with the belts and chains—contributes to the transmission's longevity. In order to significantly lessen the shock loading on the transmission, the slipper assembly is actually mounted on the spur gear. Then there’s also a gear ratio chart to see what is achievable using standard spur.
The instructions also cover how to incorporate modern parts and clearly state that you must use super glue on the tires and inserts. It then talks about all the pills in the hubs, how to use them, what towing adjustment that you're going to achieve, and then we go back toward the exploded diagrams and switch from the belt drive to chain drive. Lastly, it contains detailed instructions on how to wash and maintain the buggy, as well as the proper way to reattach the decals after maintenance.
The manual is very handy and easy to follow; it’s definitely beginner-friendly and is one of the awesome things to consider when thinking of buying the kit.
Final Thoughts
The OPTIMA 1/10 RC Buggy is a timeless classic, and it's not hard to see why. This model is the perfect mix of the classics and modernity. The retro feel of the buggy is reminiscent of '85, while the modern parts have introduced a touch of practicality and functionality. This gives it a unique feel and proves why this model is a cut above the rest.
Watch The Unboxing and Build Review
Watch as Brett unboxes and shows you everything that is inside the iconic OPTIMA 1/10 RC Buggy Kit!
What do you want us to unbox next? Feel free to message us with your ideas!
Also, make sure to follow us on Facebook, Instagram, Twitter, and Twitch!