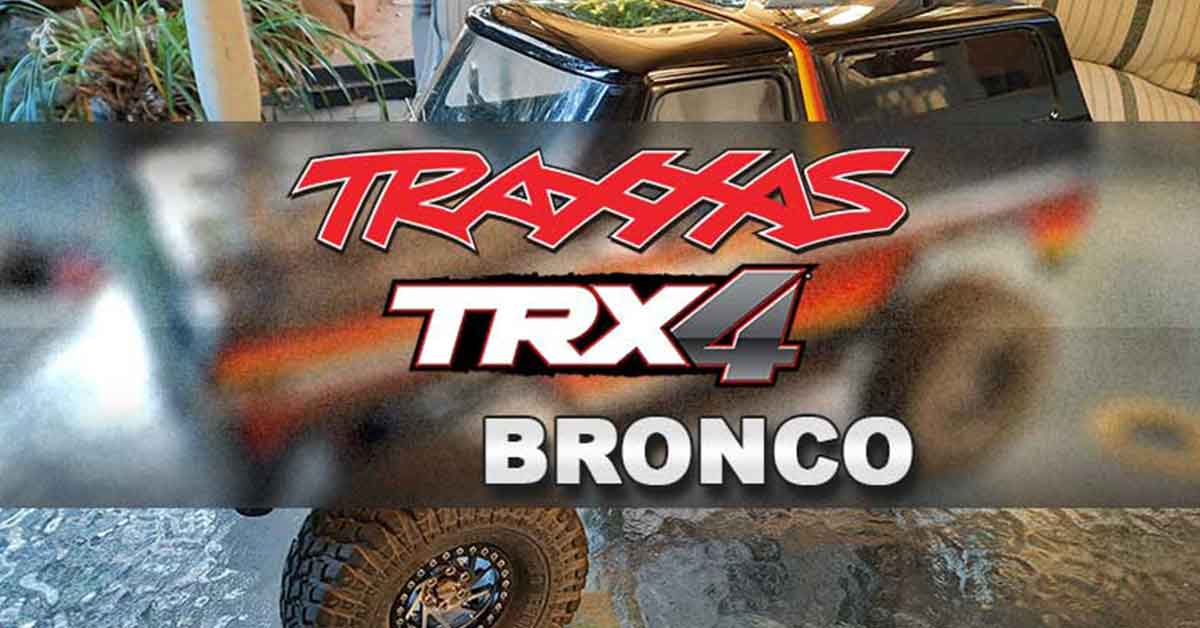
Nathan's Traxxas - Bronco TRX4 Adventure
A personal experience story~
Working in close proximity to the RC department for three years; I thought I would learn a bit about RC simply by osmosis. While that kind of turned out to be true, I thought I needed some more hands-on experience and decided to get myself a Traxxas TRX-4 Bronco!
My background in hobbies is mostly scale/scratch model building and a bit of model trains. Rock Crawling appealed to me as a place to start my RC education; since it looked as though I would be spending 80% of my time building and maintaining the car.
The build process is the most appealing part of this for me, so I decided to go a bit overboard and get all the upgrade parts I could find!
The Upgrade Parts include:
- Hobbywing Brushless Motor
- Highest Waterproof Servo
- Traxxas Link Wireless Module
- Sweep Wheels
- Pitbull Growler Tyres
- EXO Widening Kit
- EXO Metal Gear covers
- EXO Red Diff Covers
- Ninesteps 5200mAh LiPo Battery (Hard Case)
The first upgrade was to install the wheels and tyres. This was expected to be a long a tedious task considering this was my introduction to beadlock rims – this is where there is a ring of about two dozen screws holding the bead of the tyre in place. At this stage I also installed the widening kit – which makes the wheels stand outside the wheel arches. I was a little puzzled with this installation since the washers didn’t fit properly around the shaft, so I used the kit without them.

Installing the beadlock tyres went better than expected and all screws seemed to go in nicely with the tyres sitting firmly on the rims. I took the crawler out for its maiden drive and it performed very well in high and low gears around a tanbark garden with lots of twigs and exposed tree roots. After about fifteen minutes however, the front left wheel fell off...

I had learned my first lesson the hard way, so I went back and had to re-do all the beadlock screws with threadlock. I also discovered that the washers I had for the widening kit were the wrong size – this was probably the main reason for the wheel popping off. I found some washers that were the right size and now the widening kit fitted perfectly! Also, the tyres were now locked-in and I was fairly certain I shouldn’t have that same problem again.

Next, I had to install the gear coverings. This was trickier than I thought it would be, since I had to get the hex wrench in between the suspension and drive shafts to access the screws (hot tip: use a ball ended hex wrench so you can approach the screw at an angle). After about an hour I had removed the old plastic coverings and installed fancy red metal ones!

I decided to completely remove the front and rear bumper bars, as they were getting in the way while attempting any climbing. I also raised the body; as the new tyres were scraping on the wheel arches. At this time I also installed the Traxxas Link Module – this just snaps in place on the side of the controller and a single screw secures it in place.
I had a play with the features on my phone using the app; but the real benefit of this upgrade will come when I install the new motor and servo.
Next time I will bust out the soldering iron and fit the new brushless motor and servo!
Stay tuned for my follow up blogs, with the continued upgrades I will be performing on this kit.
 is here! Shop now, pay later in 4 easy installments


