
RC Body Shell Customization
Transform your RC vehicle with expert techniques and top-quality materials
RC body shell customization is an exciting way to personalize your remote control vehicle and enhance its performance. This comprehensive guide will walk you through the process of selecting, preparing, painting, and finishing your RC body shell. Whether you're a beginner or an experienced hobbyist, you'll find valuable tips and techniques to create a stunning, professional-looking custom shell for your RC car, truck, or buggy.
| RC Body Shell Customization Overview | |
|---|---|
| Key Steps | Selection, preparation, painting, detailing, protection |
| Materials Needed | Body shell, paints, brushes, airbrush, masking tape, decals, clear coat |
| Skill Levels | Beginner to advanced, with options for all experience levels |
| Time Investment | 2-10 hours, depending on complexity and drying times |
Choosing the Perfect RC Body Shell
Selecting the right RC body shell is crucial for both aesthetics and performance. Consider the following factors when choosing your shell:
- Vehicle Type: Ensure compatibility with your RC car, truck, or buggy model.
- Material: Opt for durable polycarbonate shells for their lightweight properties and impact resistance.
- Style: Choose a design that reflects your personal taste and complements your vehicle's purpose.
- Aerodynamics: Consider how the shell's shape will affect your RC vehicle's performance.
At Hearns Hobbies, we offer an extensive range of 1/10 scale on-road body shells, 1/8 scale buggy body shells, and more to suit various RC models and preferences.
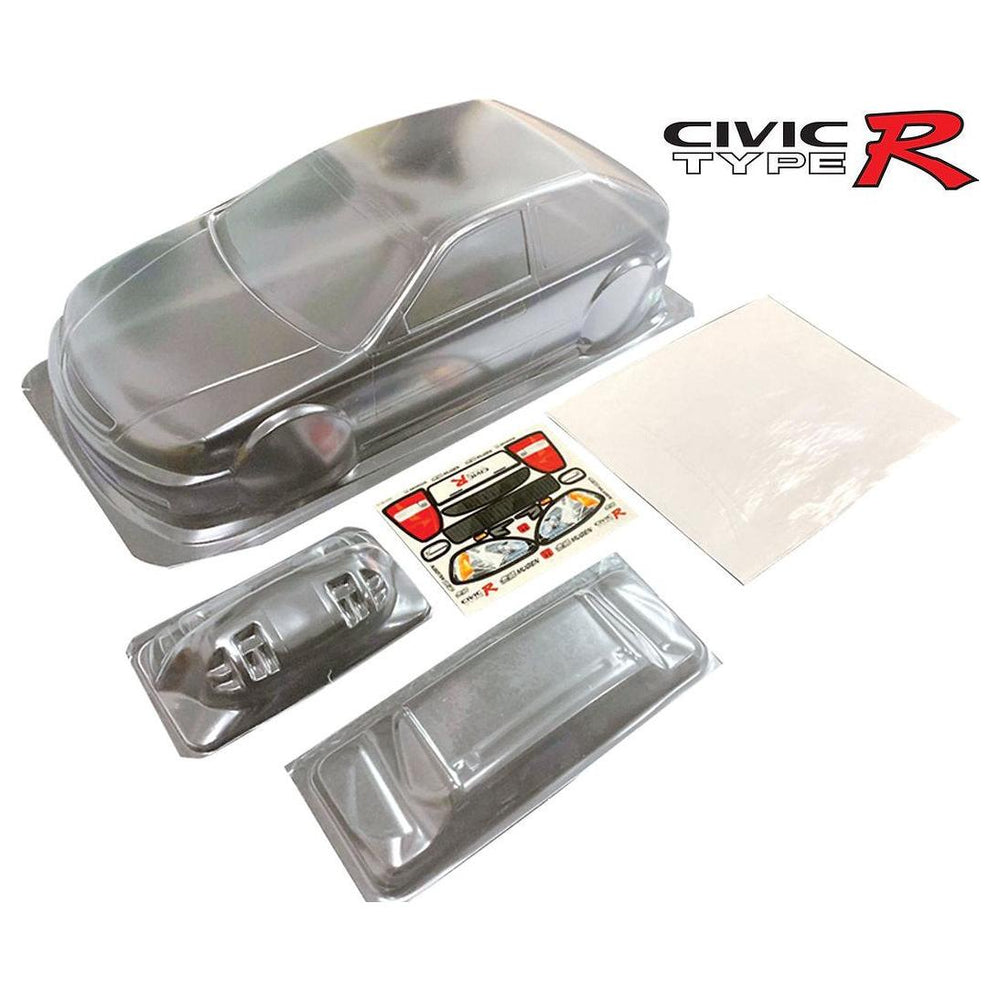
1/10 Scale On-Road Body Shell
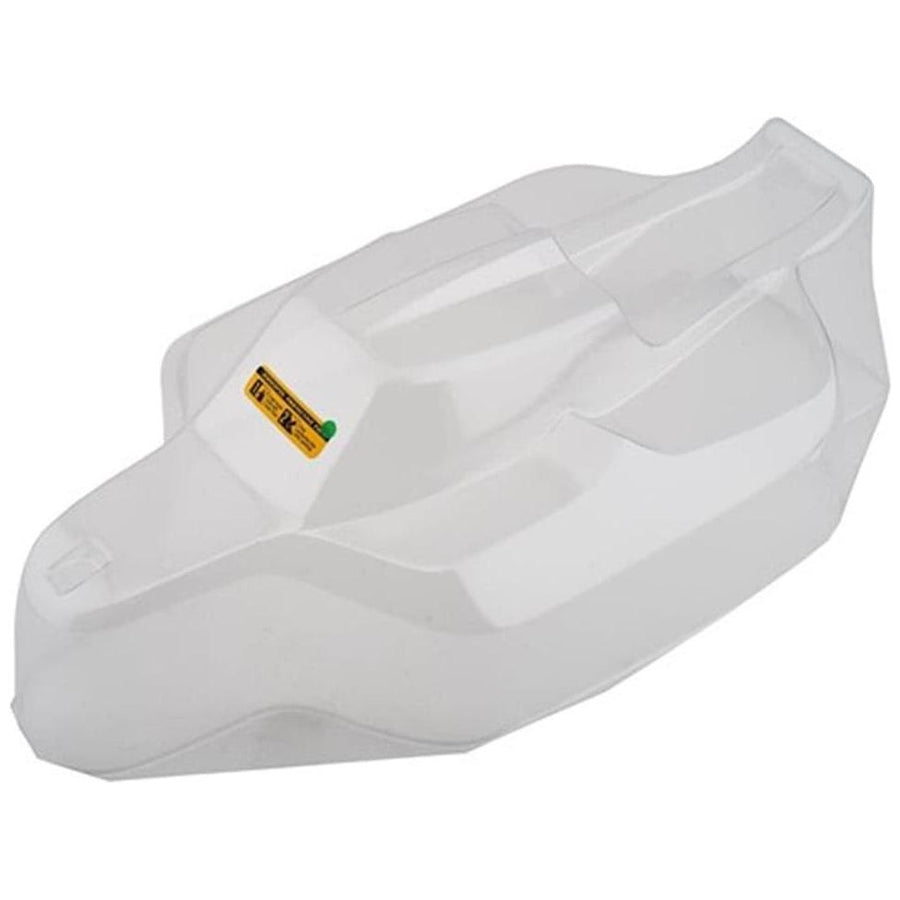
1/8 Scale Buggy Body Shell
Preparing Your RC Body Shell for Customization
Proper preparation is essential for achieving a flawless finish on your RC body shell. Follow these steps to ensure your shell is ready for painting:
- Cleaning: Wash the body shell thoroughly with mild soap and warm water to remove any oils, dust, or debris.
- Sanding: Lightly sand the surface with fine-grit sandpaper to improve paint adhesion. Be gentle to avoid damaging the shell.
- Masking: Use high-quality masking tape to cover areas that should remain unpainted, such as windows or specific design elements.
- Priming: Apply a thin, even coat of primer specifically designed for polycarbonate materials. This step enhances paint adhesion and color vibrancy.
For more detailed guidance on preparing your RC body shell, check out our RC customization blog for expert tips and tricks.
Pro Tip: Take your time with preparation. A well-prepped surface is the foundation for a professional-looking custom RC body shell.
Mastering RC Body Shell Painting Techniques
Painting your RC body shell is where your creativity truly shines. Here are some techniques to help you achieve a stunning finish:
- Spray Painting: Apply thin, even layers of polycarbonate paint from a consistent distance (about 8-12 inches) to avoid drips and ensure uniform coverage.
- Airbrushing: Use an airbrush for intricate designs, gradients, and fine details. This technique offers precision and control for advanced customization.
- Layering: Build up color gradually by applying multiple thin layers, allowing each to dry fully before adding the next. This method creates depth and prevents runs.
- Masking Techniques: Utilize various masking methods to create clean lines, patterns, and multi-color designs.
- Fading and Blending: Create smooth color transitions by carefully blending paints or using spray techniques to achieve a gradient effect.
Explore our RC paints and tools collection to find high-quality polycarbonate paints, airbrushes, and other essential supplies for your customization project.
Adding Custom Graphics and Detailing
Elevate your RC body shell design with custom graphics and intricate detailing:
- Decals: Apply pre-designed or custom RC decals for logos, racing numbers, or complex patterns.
- Stencils: Create precise, repeatable designs using stencils and masking techniques.
- Hand Painting: Add fine details, pinstriping, or custom artwork using brushes and detail paints.
- Weathering: Apply weathering techniques to create a realistic, worn look for scale models or post-apocalyptic themes.
- Lettering: Incorporate names, numbers, or slogans using vinyl lettering kits or hand-painted text.
Design Tip:
When adding graphics, consider the overall balance and flow of your design. Less can often be more – focus on key elements that enhance the shell's appearance without overwhelming it.
Protecting Your Custom RC Body Shell
After investing time and effort into customizing your RC body shell, it's crucial to protect your work:
- Clear Coat Application: Apply a durable clear coat to shield the paint and graphics from scratches, UV damage, and general wear.
- Proper Handling: Use caution when mounting and removing the body shell to prevent chips and scratches.
- Regular Maintenance: Clean your RC body shell with mild soap and water, avoiding harsh chemicals that could damage the finish.
- Storage: Store your RC vehicle in a cool, dry place, away from direct sunlight to prevent color fading and material degradation.
For more tips on maintaining your custom RC body shell, visit our RC maintenance FAQ page.
Advanced Customization Techniques
For experienced hobbyists looking to take their RC body shell customization to the next level, consider these advanced techniques:
- Candy Colors: Create deep, translucent finishes by applying candy colors over a metallic base coat.
- Hydro Dipping: Achieve complex patterns and designs using water transfer printing techniques.
- LED Integration: Incorporate LED lighting systems for stunning visual effects, especially for night running or display.
- Custom Molding: Create unique body panels or accessories using vacuum forming or 3D printing technologies.
- Scale Detailing: Add ultra-realistic details like miniature windshield wipers, antennas, or driver figures for scale models.
Explore our RC detailing parts section for accessories and components to enhance your customization projects.
Showcasing Your Custom RC Body Shell
Once you've completed your masterpiece, it's time to show it off:
- Photography: Capture high-quality images of your custom RC body shell to share online or enter competitions.
- RC Events: Participate in local RC meets or competitions to showcase your work and connect with other enthusiasts.
- Online Communities: Share your customization process and final results on RC forums and social media platforms.
- Display Cases: Consider using a display case to protect and showcase your custom RC vehicle when not in use.
Conclusion
Customizing your RC body shell is a rewarding journey that allows you to express your creativity and enhance your RC vehicle's appearance and performance. By following the steps outlined in this guide and utilizing high-quality materials, you can create a truly unique and professional-looking custom RC body shell.
Remember, practice makes perfect, and each project is an opportunity to refine your skills. Don't hesitate to experiment with different techniques and designs to find your signature style. For all your RC customization needs, from body shells to paints and accessories, visit Hearns Hobbies – your one-stop shop for RC enthusiasts.
Ready to Start Your RC Body Shell Customization Project?
Explore our extensive range of RC body shells, paints, and tools at Hearns Hobbies and embark on your next customization adventure today! For any questions or assistance, don't hesitate to contact us or visit our FAQ page.