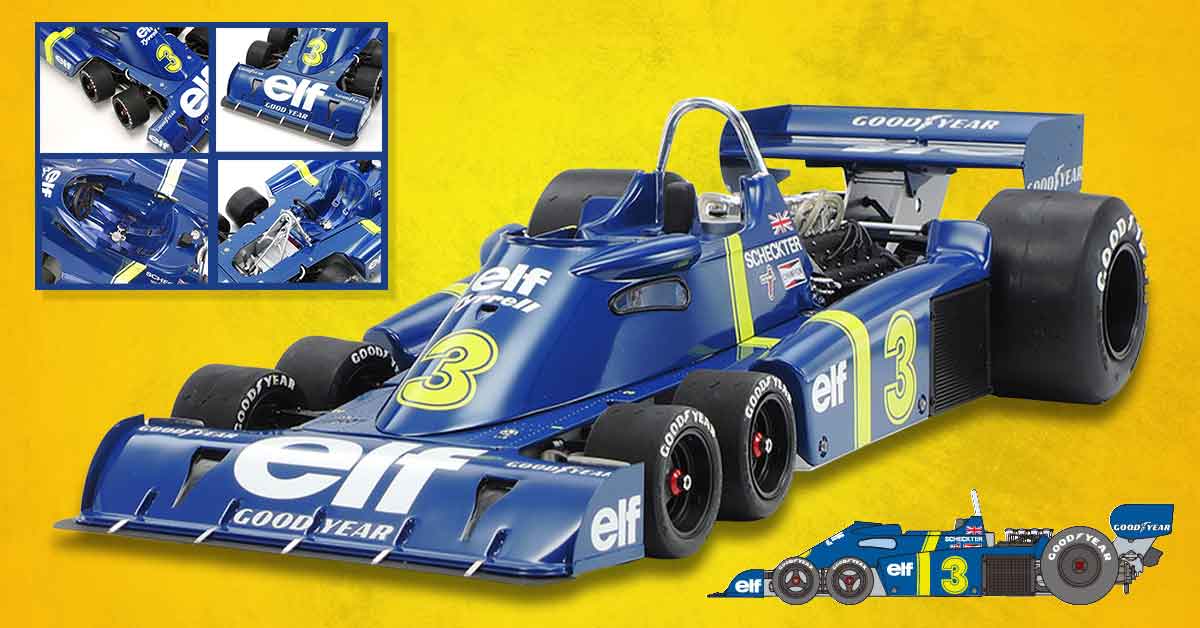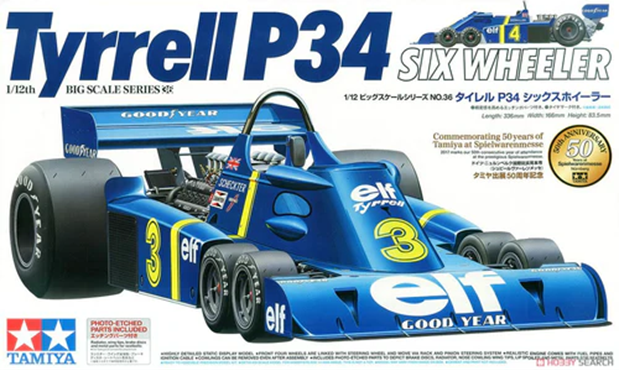
The re-release of the TAMIYA Tyrrell P34 Japanese Grand Prix Edition in 1/12th scale is an excellent example of a revival done right. In this blog, we will be exploring what exactly makes this kit a classic, all of its parts, and everything that the kit has to offer. Let's get right into it!
Buy it here: Shop now.
Summary
- The History of the TAMIYA Tyrrell P34 Japanese GP Edition
- What’s inside the TAMIYA Tyrrell P34 Japanese GP Edition Kit?
- Watch The Unboxing and Full Build Review
Background on the TAMIYA Tyrrell P34 Japanese GP Edition
The six-wheeled Formula 1 racer, the TAMIYA Tyrrell P34, made waves when it was presented in 1975. In 1976, the Tamiya Tyrrell P34 raced at the Fuji Speedway at the Japanese Grand Prix, the final race of the season, sporting a new look. The Japanese GP edition included big wingtip panels on the back wing and a triangular net protector installed on the air funnel. It was such an iconic car that, to this day, the actual F1 racer is on display in the lobby of the Shizuoka Tamiya offices in Japan.
Inside The Tamiya Tyrrell P34 Six Wheeler: Japanese Grand Prix Edition Kit
From just looking at the box, it would be hard to tell what exactly makes the Japanese GP edition model so unique, but the differences are quite significant. On the cover, we have decals different from the standard Tyrrell P34 models, written in Hiragana. Looking at the box tells you a little bit about the car’s history, so let's explore more of the parts.
Let’s start with the plastics!
Sprue A (Blue)

Sprue A has the body work, which includes the front wing, side pods, and the wing, which was made the same as the original, the side panels, and the main aerofoils.
The original model was considered state of the art when it was first released. It is a kit that dates back to the late 1970s, and this was when a lot of the models were hand polished. This means you’re not going to get an absolutely smooth finish, but with a little bit of care and sanding, you’ll be able to get a nice and reflective flat surface. It also has very little flash, so it doesn’t need any washing. There are a few sink marks, but it's something seen in modern kits as well, so it won’t pose you too much trouble.
Sprue B (Blue)
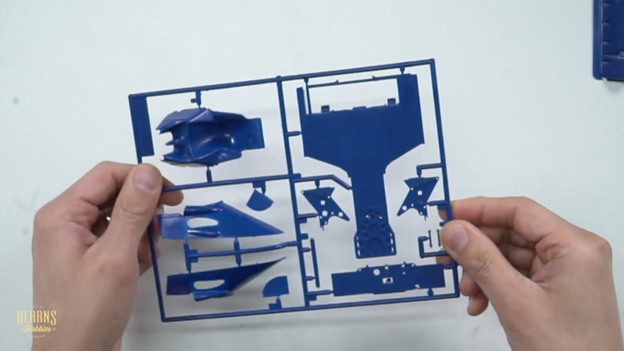
Sprue B includes the lower part of the chassis, the seat, the rollover hoop, and the front cowling, so we have the clear windows on the side as well as the mirror parts.
Sprue C (Black)
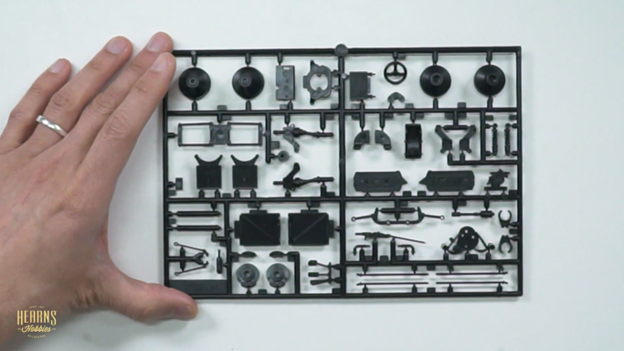
Sprue C contains all the wheel suspension parts and components. The wheels are conical in shape and come in two pieces. Then we got the front and rear steering wheels, the engine mount, and the textured radiators. To get even more details, the sprue also contains the rear upright, drive shafts, suspension brakes, disc brakes, calipers, pedals, and push rods.
Sprue D (Black)
Sprue D holds the front wheels, front suspension arms, rear arms, rod pieces, and rollover hoops. It also contains the instrument boxes, shock rods, steering components, covers, and disc brakes. One disc brake is provided for each wheel, alongside miniature shocks.
Sprue E (Chrome)
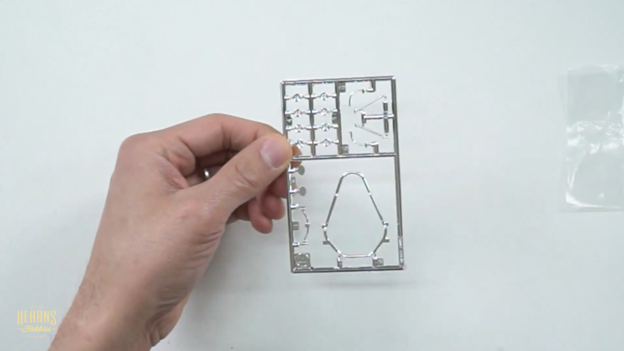
For the chrome sprue, there are a few rollover hoops included. There are also chrome rearview mirrors that are shiny and reflective. This sprue also includes small parts that support the wing, as well as trumpets for the engine intake.
Sprue F (White)
Sprue F contains the driver. The driver model comes in separate parts with a high degree of detail. If you look closely, you will notice how sharp the details are in his harness, with even shadows coming through to highlight it. This seat also comes with seatbelts in fabric form, so you don’t have to use a driver and have them just sit on the seat.
Sprue G (Silver)
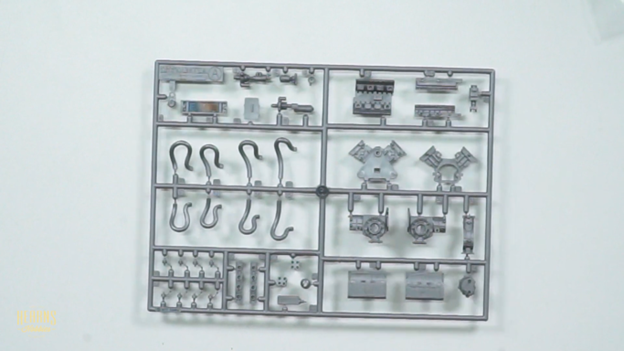
The last sprue includes the engine parts. It has the exhaust, engine mounts, and engine casing. Sprue G also contains a gear box, the starter motor, and pumps, among other parts.
The Decals
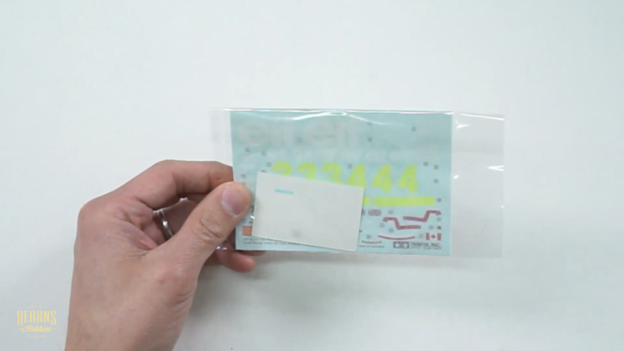
The decals were printed by Cartograph, which is famous for its very sharp printing. It features bright colors and is packed in a secure packet.
Photo-etched parts

The massive photo-etch set includes etches for the gear box and the original wing. There are huge side panels for the Japanese version, and you are given two wings that can be easily swapped out. The wing mount can be folded up into a box section, which gives the model a really scaled appearance. There are etches for the disc brake covers where you can see the ventilating lines. Then we have the fine mesh for the textured radiator. Then there are big pieces of photo-etch for the rear wing and some smaller ones for the seatbelt buckles and front wing.
The Instruction Manual

The manual is what will actually highlight the differences between the new and previous releases. The front of the car has the history of the vehicle in multiple languages. If you have constructed Tamiya kits before, the instructions will be familiar to you. It includes a list of paints with Tamiya codes, some general guidelines for the kinds of tools you'll need, and a few helpful hints, particularly for using photo etch. There are separate instructions for when you choose to build a No. 3 or a No. 4 that also list all the pieces from the earlier kit that have been updated. It also includes steps on how to properly paint the model as well as how to apply decals.
Final Thoughts
It is no wonder that the Tyrrell P34 Six Wheeler stayed relevant throughout the years; it is a model with a lot more to offer after its re-release that is excellent in all aspects.
Watch The Unboxing and Build Review
Watch as BJ unbox and show you everything inside the Tyrrell P34 Six Wheeler: Japanese Grand Prix Edition.
What do you want us to unbox next? Feel free to message us with your ideas!
Also, make sure to follow us on Facebook, Instagram, Twitter, and Twitch! is here! Shop now, pay later in 4 easy installments

