
The Art of Weathering: Pigments in Scale Modeling
Enhance realism and bring your models to life with expert pigment techniques
In the world of scale modeling, achieving realism is paramount. Pigments have emerged as a game-changing tool, allowing modelers to replicate the subtle nuances of weathering and environmental effects with unprecedented accuracy. From the sun-bleached paint of a vintage aircraft to the mud-caked undercarriage of a battle-worn tank, pigments offer a level of detail and authenticity that traditional paints alone cannot match. This comprehensive guide will explore the transformative power of pigments in scale modeling, providing both novice and experienced modelers with the knowledge to elevate their craft.
| Pigments in Scale Modeling: Key Points | |
|---|---|
| Versatility | Simulates dirt, grime, rust, and environmental effects |
| Types | Commercial pigments and art pastels |
| Application Methods | Dry, wet, and textured techniques |
| Fixatives | Optional sealing to protect finished work |
Understanding Pigments in Scale Modeling
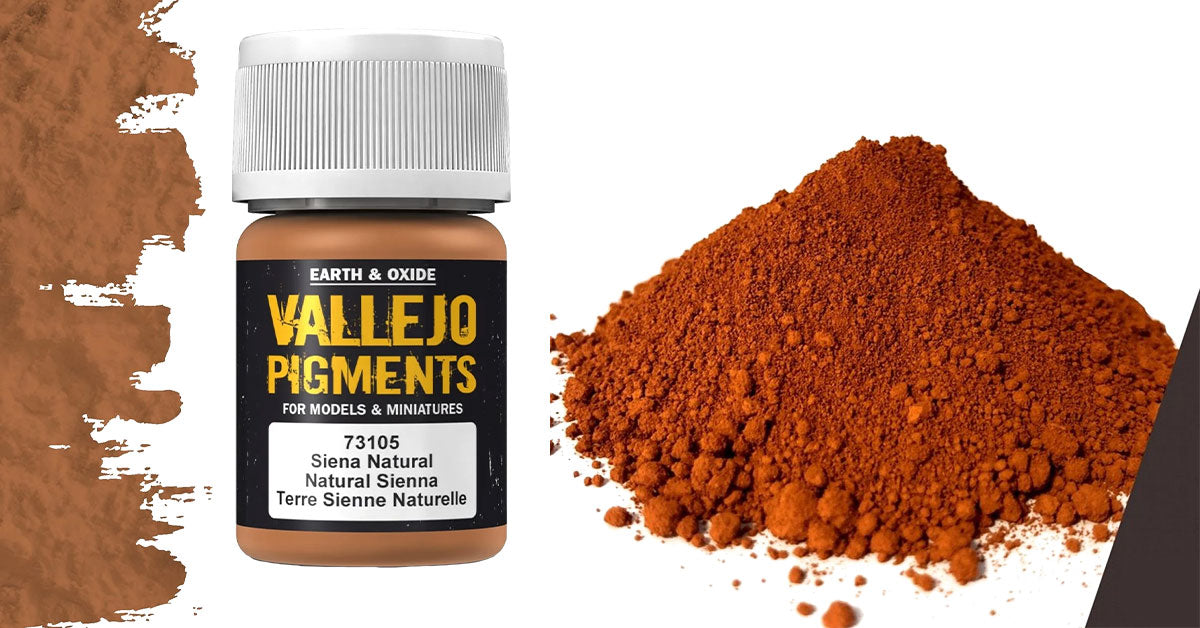
Pigments are finely ground colored powders that have revolutionized the way modelers approach weathering and environmental effects. Unlike liquid paints, pigments offer a unique texture and application method that can more accurately replicate the look of dust, dirt, rust, and other natural phenomena. Their versatility makes them an indispensable tool for creating highly realistic scale models across various subjects, from military vehicles to architectural dioramas.
Types of Pigments
When it comes to choosing pigments for your scale modeling projects, there are two main categories to consider:
- Commercial Pigments: Specifically designed for modeling, these pigments often come with built-in binders to enhance adhesion. While they can be more expensive, brands like Green Stuff World offer high-quality options tailored for scale modeling applications.
- Art Pastels: A more budget-friendly alternative, art pastels can be ground into fine powders and used similarly to commercial pigments. However, they may require additional binders or fixatives for optimal adhesion to model surfaces.
Pro Tip: Experiment with both commercial pigments and art pastels to find the perfect balance between cost-effectiveness and performance for your specific modeling needs.
Essential Techniques for Applying Pigments
Mastering the application of pigments is key to achieving realistic weathering effects in scale modeling. Here are the fundamental techniques every modeler should know:
Dry Application
The dry application method is perfect for creating subtle, dusty effects and replicating general wear and tear:
- Select a soft, dry brush and lightly dip it into your chosen pigment.
- Tap off any excess to avoid over-application.
- Gently brush the pigment onto the model, focusing on areas where dust and dirt would naturally accumulate.
- Build up layers gradually for a more realistic effect, paying attention to how real-world objects weather over time.
Wet Application
Wet application allows for more control and can create effects like streaking or heavy weathering:
- Mix your chosen pigment with a medium such as water, enamel thinner, or a specialized pigment fixer.
- Apply the mixture to your model using a brush, concentrating on areas where moisture or grime would naturally collect.
- Use a clean brush slightly dampened with thinner to blend and soften edges, creating a more natural appearance.
- Consider using washes to enhance panel lines and add depth to your model's surface.
Creating Textured Effects
For more dramatic weathering, such as mud or heavy dirt accumulation:
- Mix pigments with a textured medium or paste to create a thick, mud-like consistency.
- Apply the mixture to areas of the model where mud or dirt would build up, such as wheel wells or vehicle tracks.
- Use various tools like old brushes or toothpicks to create realistic textures in the applied mixture.
- Allow the mixture to dry completely before adding additional layers or effects.

Dry application technique for subtle weathering

Wet application for controlled weathering effects
Advanced Pigment Techniques for Realistic Weathering
As you become more comfortable with basic pigment applications, explore these advanced techniques to create even more realistic and complex weathering effects on your models:
Layering and Blending
Achieve depth and realism by layering different pigments and blending them together:
- Start with a base layer of lighter pigment to represent underlying dirt or rust.
- Gradually add darker pigments in smaller areas to create depth and variation.
- Use a soft brush or your finger to blend the edges of different pigment layers for natural transitions.
- Consider using primers or fixatives between layers for more control and to prevent unintentional mixing.
Creating Realistic Rust Effects
Rust is a common weathering effect that can add significant realism to models of vehicles, structures, or equipment:
- Apply a base of light orange or brown pigment to represent initial oxidation.
- Add darker brown and red pigments in patches to simulate deeper rust.
- Use a small amount of black pigment in the deepest recesses to represent severe corrosion.
- Apply a rust-colored wash to blend the pigments and create streaking effects.
- For raised rust texture, mix pigments with a textured medium and apply in small amounts.
Simulating Environmental Exposure
Recreate the effects of long-term environmental exposure on your models:
- Use light-colored pigments to simulate sun-bleaching on upper surfaces.
- Apply darker pigments in recesses and undersides to represent accumulated grime and shadows.
- Create rain streaks by applying diluted pigments vertically on surfaces, concentrating on areas where water would naturally flow.
- For coastal or marine environments, use white or light grey pigments to simulate salt deposits.
Expert Tip:
When working with pigments, always consider the scale of your model and the environment it would exist in. Weathering effects should be proportional to the size of the model and consistent with its supposed history and surroundings.
Tools and Materials for Pigment Application
To make the most of your pigment techniques, it's essential to have the right tools and materials at hand. Here's a list of key items that will help you achieve professional-level results:
- Brushes: A variety of brushes, including soft brushes for dry application, flat brushes for washes, and old brushes for stippling effects.
- Fixatives: To seal your pigment work, consider using specialized pigment fixers or clear matte varnishes.
- Thinners: Enamel thinners or specialized thinners for creating washes and wet applications.
- Palette: A palette or mixing tray for combining pigments and creating custom colors.
- Cotton swabs and microfiber cloths: For blending, cleaning, and removing excess pigment.
- Textured mediums: For creating mud, dirt, and other textured effects.
- Magnifying glass or optivisor: For precise application and detail work, especially on smaller scale models.
Preserving Your Pigment Work
After investing time and effort into applying pigments to your model, it's crucial to consider how to protect your work. The decision to seal or not seal your pigment effects is a topic of debate among modelers, with valid arguments on both sides:
To Seal or Not to Seal?
-
Sealing Advantages:
- Protects the pigment application from dust and handling.
- Allows for safer cleaning of the model over time.
- Can enhance the durability of the finish, especially for models that will be handled frequently.
-
Sealing Considerations:
- Some sealants can alter the appearance of pigments, potentially changing their color or texture.
- Overapplication of sealant can create an unwanted sheen or glossy appearance.
- Certain effects, like a dusty finish, may be diminished when sealed.
If you choose to seal your pigment work, consider these tips:
- Test First: Always test your chosen sealant on a small, inconspicuous area or a test piece to ensure compatibility with your pigment application.
- Use Matte Products: Opt for matte varnishes or fixatives to maintain the natural, weathered look of your pigments.
- Apply in Thin Layers: Use multiple thin coats rather than one heavy application to minimize the risk of altering the pigment appearance.
- Consider Partial Sealing: You may choose to seal only certain areas of the model, leaving others unsealed for maximum effect.
For those who prefer not to seal their work, displaying models in dust-free environments, such as sealed display cases, can help preserve the integrity of the pigment application without the need for fixatives.
Conclusion
Mastering the use of pigments in scale modeling opens up a world of possibilities for creating stunningly realistic and visually compelling models. From subtle weathering to dramatic environmental effects, pigments offer unparalleled versatility and control in achieving the desired look for your projects. As you experiment with different techniques, materials, and applications, you'll discover the incredible potential these finely ground powders hold for transforming your scale modeling creations.
Remember, the key to success with pigments lies in practice, patience, and a willingness to experiment. Don't be afraid to try new techniques or combine different methods to achieve the perfect effect for your model. With the right tools, techniques, and a bit of creativity, you'll be well on your way to creating scale models that truly stand out for their realism and attention to detail.
Explore Further
Ready to elevate your scale modeling with pigments? Discover our wide range of pigments and weathering products at Hearns Hobbies. From beginner-friendly sets to advanced weathering solutions, we have everything you need to bring your models to life. Don't forget to check out our selection of modeling tools and paints to complement your pigment techniques.
For more inspiration and tips on using pigments in scale modeling, be sure to visit our blog or join our community forums to share your experiences and learn from fellow modelers. Happy modeling!