GETTING YOUR MODEL READY FOR PAINTING!
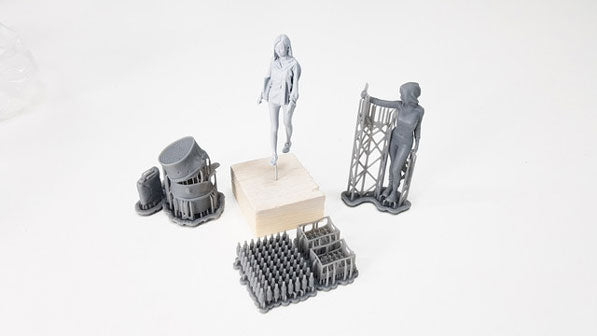
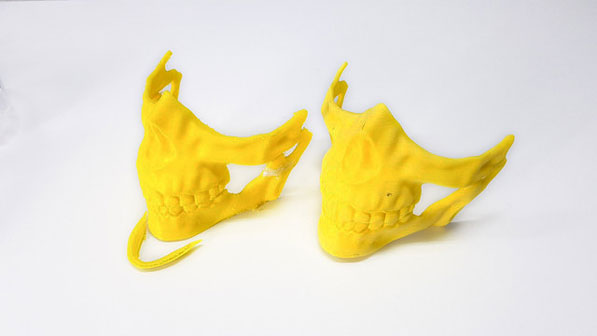
Start by removing the supports. Use good side cutters/nippers to cut the supports away from your model. Start from the far end of the support and work your way towards the model. This will reduce the chances of chipping the surface of the model due to having very long supports.

Trim the support contacts. These are the nubs left behind where the supports contact the model. After cutting off the supports with the nippers, use a sharp knife to clean up the nubs left behind.
Use good superglue/CA cement to attach or repair parts.
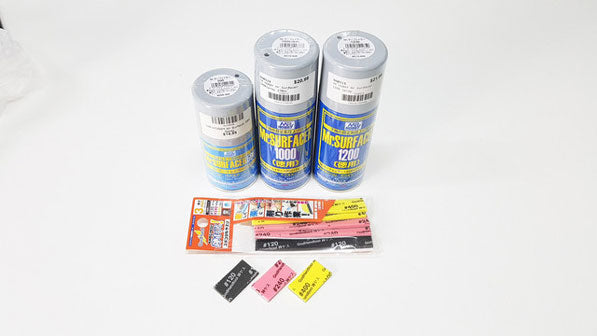
Sand the entire surface of the model to get a smooth surface. If there are significant gaps between layers use a putty (Tamiya putty or Mr Dissolved putty) or thick primer (Mr Surfacer 500 or Tamiya Primer) to fill the gaps. Putty is used if the surface is very rough and needs substantial filling. A thinner putty can be used if the roughness is moderate. Use primer for fine imperfections. Sand the parts after the putty or primer has set. Repeat the process until the surface is almost flaw free.
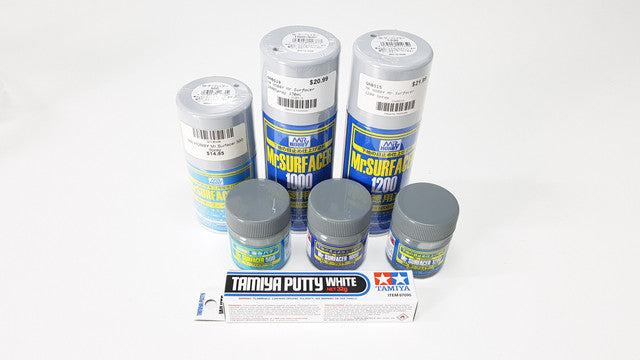
Spray the model with a fine primer to prepare for the painting process. Use a finer primer for a smoother finish for glossy finished parts. The surfacer sprays are rated depending on how fine the particles are. 500 is the coarsest and 1200 is fine. The rating is similar to how sandpaper is rated. The higher the number, the smoother the finish. 500 gives a very matte surface whereas 1200 gives a smooth satin finish.
Give a final sand with fine sand paper to get rid of any fine imperfections. The model is now ready to paint with your choice of paint.
Give a final sand with fine sand paper to get rid of any fine imperfections. The model is now ready to paint with your choice of paint.