Sculpting with Green Stuff: Tips and Tricks
Master the art of miniature sculpting with expert techniques
Green Stuff, a versatile two-part epoxy putty, has become an indispensable tool for hobbyists and miniature enthusiasts alike. In this guide, we'll delve into essential tips, techniques, and insider tricks to help you unlock the full potential of Green Stuff and create stunning, professional-quality miniatures.
| Key Takeaways: Sculpting with Green Stuff | |
|---|---|
| Mixing Ratios | Adjust blue-to-yellow ratios for varying hardness and workability |
| Essential Tools | Silicone shapers, needle files, tweezers, and X-Acto knives for detailed work |
| Layering Techniques | Work in stages to prevent distortion and achieve finer details |
| Preventing Sticking | Use water-based lubricants or Vaseline to keep tools and fingers clean |
| Creative Applications | Explore mould-making and hybrid mixtures for unique effects |
Mixing Green Stuff: Finding the Perfect Balance

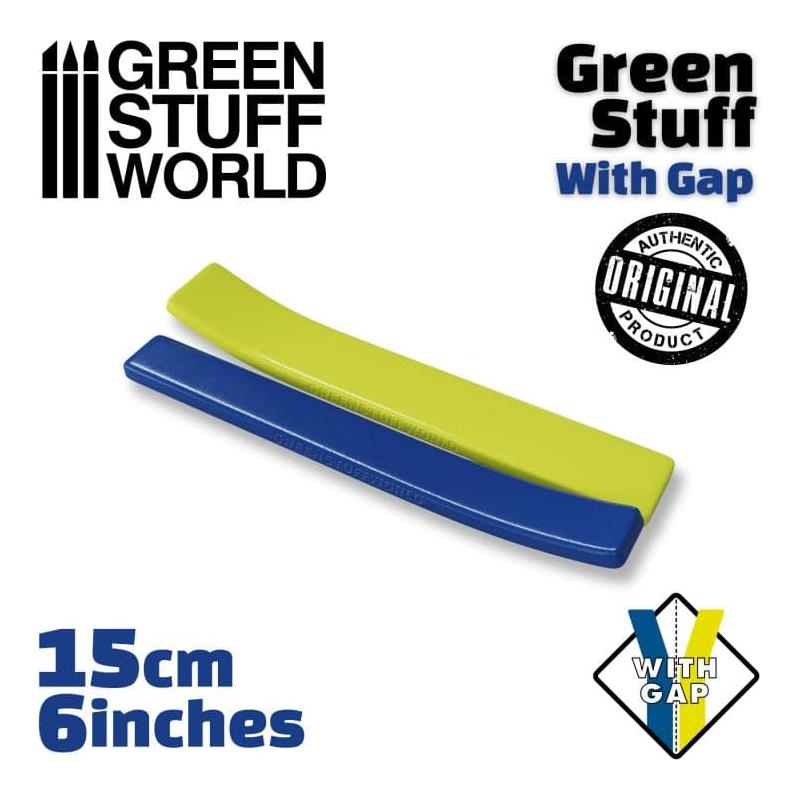
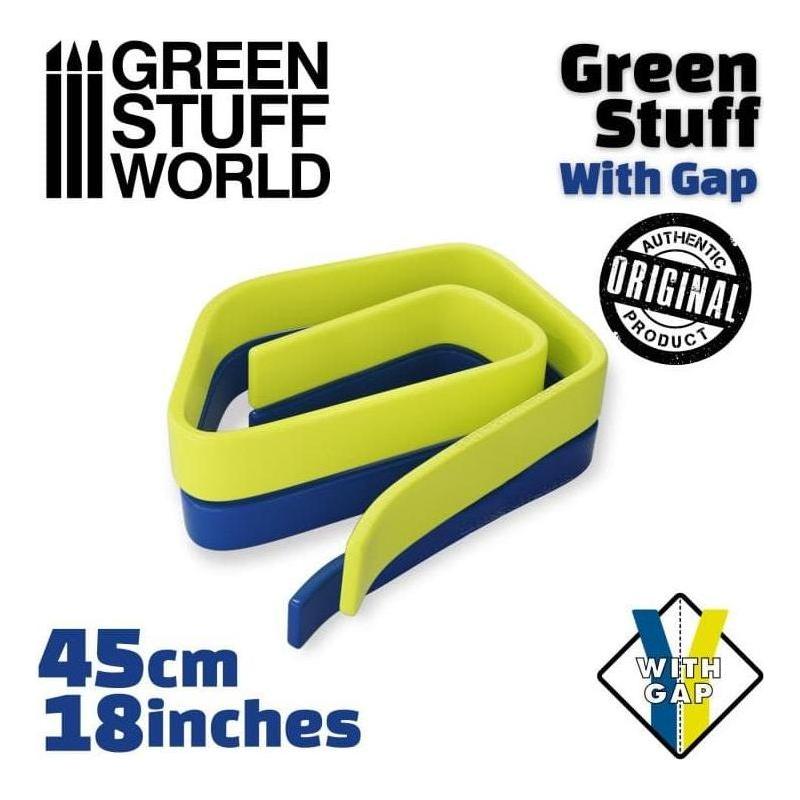
Green Stuff, a two-part epoxy putty, is created by combining equal portions of its blue and yellow components. This mixture yields a durable, flexible green compound ideal for crafting detailed miniatures. For sculptors seeking varying levels of hardness, adjusting the blue-to-yellow ratio is crucial. A higher proportion of blue results in a stiffer, more durable putty, perfect for sculpting armour and sharp details. Conversely, a yellow-heavy mix produces a softer, more malleable putty, suitable for organic forms like cloth and flowing shapes.
Pro Tip:
Before mixing, trim away any hardened edges of the putty. Hardened parts can lead to lumps and inconsistencies in your sculpt, compromising the final result.
Once you have fresh portions, thoroughly knead the two colours until they form a uniform green. For improved workability and reduced stickiness, allow the putty to rest for 20-30 minutes before sculpting. This brief resting period can significantly enhance your sculpting experience.
For a smooth, non-stick work surface, we recommend sculpting on ceramic tiles or glass. You can find these and other essential sculpting tools in our comprehensive range at Hearns Hobbies. Proper preparation will save you frustration and improve your results.
Choosing the Right Sculpting Tools
The tools you use significantly impact your final result when sculpting with Green Stuff. We recommend using silicone-tipped tools or clay shapers, which prevent the putty from sticking. These are ideal for achieving smooth surfaces and fine detailing. Dental spatulas offer excellent precision for intricate work. At Hearns Hobbies, you'll find a comprehensive collection of tools tailored for both beginners and experienced sculptors.
| Essential Tools | Purpose |
|---|---|
| Silicone Shapers | Non-stick tools ideal for smoothing and fine details |
| Needle Files | Perfect for adding intricate textures like chainmail or fur |
| Tweezers | For placing and holding tiny details |
| X-Acto Knife | Ideal for trimming and detailed cuts |
Everyday items can also prove invaluable during sculpting. For instance, paintbrush handles can create textures, while a rolling pin or smooth rod helps evenly flatten Green Stuff for sheets or banners. When precision is required, an X-Acto knife is invaluable for making fine cuts without distorting your work.
Layering Techniques for Crisp Details
Green Stuff requires careful layering to create intricate designs without deforming your work. Since the putty remains malleable for several hours, attempting to sculpt all at once can lead to unintended distortions. Instead, work in layers: first, shape the basic forms of your model, allow it to cure, and then return to add smaller details.

GREEN STUFF WORLD Green Stuff
For example, when sculpting a cloak:
- First, form the basic flowing shape
- Allow it to cure
- Return to etch finer details like fabric wrinkles
- Finally, add weathering effects or embellishments
This method ensures structural integrity and allows for more precise detailing.
Layering also helps with structural integrity, especially for complex shapes like armour or organic features. Always allow each layer to fully cure before applying the next, ensuring a smooth and clean result. For a complete guide to layering techniques, be sure to browse our selection of chisels and files to help with fine detailing and texturing.
Mastering Lubrication Techniques: The Key to Smooth Sculpting
One of the primary challenges when working with Green Stuff is preventing it from adhering to your tools and fingers. Mastering lubrication techniques is crucial for achieving smooth, professional results. Let's explore some effective methods to keep your sculpting process hassle-free.
Popular Lubricants
- Water: The most common and accessible option
- Vaseline: Excellent for prolonged sculpting sessions
- Water-based creams: Like Nivea, offer good slip without residue
- Specialised sculpting lubricants: Available in our sculpting tools section
Remember: A little lubrication goes a long way. Overuse can lead to a loss of detail or difficulty in adhering additional layers of Green Stuff.
Each lubricant has its strengths. Water is quick and easy but may dry out during longer sculpting sessions. Vaseline provides long-lasting slip but can be harder to clean off. Water-based creams offer a good balance, providing smooth sculpting without leaving residue that could interfere with painting or priming later.
Application Techniques
- Tool Dipping: Quickly dip your tool in water before each use
- Finger Coating: Apply a thin layer of Vaseline or cream to your fingertips
- Mist Spraying: Use a fine mist sprayer for controlled water application
- Lubricant Stations: Set up small containers of your preferred lubricant for easy access
Experiment with these methods to find what works best for your sculpting style. Remember, the goal is to achieve smooth manipulation of the Green Stuff without compromising its ability to hold detail or adhere to your model.
Pro Tip:
After applying lubricant, test on a small piece of Green Stuff before working on your main project. This ensures you've achieved the right balance for your sculpting needs.
For more advanced techniques and specialised lubricants, explore our sanding and polishing tools section. These products can help you achieve a flawless finish on your Green Stuff creations, ensuring smooth surfaces and crisp details.
Creative Uses for Green Stuff
Green Stuff's versatility extends far beyond gap-filling and basic sculpting. Its pliability and detail retention make it ideal for custom mould-making. By pressing the putty onto an original piece coated with a release agent, you can create one-sided moulds to replicate details quickly. This technique is fantastic for creating repetitive patterns or identical parts for miniatures.
Additionally, experimenting with hybrid mixtures by combining Green Stuff with other epoxy putties like Milliput or Apoxie Sculpt can yield interesting results. A 50/50 mix creates a firmer putty that holds crisp details even better than Green Stuff alone. For intricate textures, consider pressing designs or stamps onto the semi-cured surface, allowing for creative additions to armour, cloaks, or weapons.
Expert Tip:
Create texture stamps by pressing Green Stuff onto interesting surfaces like bark, fabric, or even LEGO bricks. Once cured, these stamps can be used to quickly add unique textures to your sculptures.
For all the tools and supplies you need to experiment with Green Stuff and more, visit our full range of model tools.
Maintaining Your Green Stuff and Workspace
Proper maintenance of your Green Stuff and workspace is crucial for consistent results and longevity of your materials. Here are some key tips:
- Store unused Green Stuff in the freezer to extend its shelf life
- Apply lip balm or baby oil to your fingers to prevent sticking during application
- Clean tools thoroughly after each use to prevent residue build-up
- Keep your workspace clean and organised for efficient sculpting sessions
Frequently Asked Questions
How to use Green Stuff to sculpt?
To use Green Stuff for sculpting, start by mixing equal parts of the blue and yellow components until you achieve a uniform green colour. Allow it to rest for 20-30 minutes for better workability. Shape the Green Stuff using sculpting tools, working in layers for complex shapes. Use water or Vaseline as a lubricant to prevent sticking. Let each layer cure before adding details or additional layers.
How to avoid fingerprints on Green Stuff?
To avoid fingerprints on Green Stuff, use the following techniques:
- Work with sculpting tools instead of your fingers when possible
- Apply a thin layer of Vaseline or water-based lubricant to your fingertips
- Use smooth, gliding motions rather than pressing directly onto the surface
- Smooth out any unintended marks with a damp, soft brush or silicone tool
- Allow the Green Stuff to partially cure before fine-tuning the surface
How to make Green Stuff more malleable?
To increase the malleability of Green Stuff:
- Adjust the mixing ratio to include more of the yellow component
- Knead the putty thoroughly to warm it up and increase pliability
- Work in a warmer environment, as heat makes Green Stuff softer
- Add a small amount of Vaseline while kneading to increase softness
- Consider mixing Green Stuff with a softer epoxy putty for increased workability
Remember to test the adjusted mixture on a small scale before applying it to your main project. For more tips on working with Green Stuff, check out our model tools collection.
Conclusion
Mastering the art of sculpting with Green Stuff opens up a world of creative possibilities for hobbyists and miniature enthusiasts. From creating intricate details on your favourite Warhammer figurines to crafting entirely custom pieces, this versatile epoxy putty is an invaluable tool in your modelling arsenal.
By applying the techniques we've explored – proper mixing, layering, lubrication, and tool selection – you'll be well-equipped to tackle even the most challenging sculpting projects. Remember, patience and practice are key to achieving professional-quality results. Don't be afraid to experiment with different techniques and push the boundaries of what's possible with Green Stuff.
Final Thoughts:
Whether you're filling gaps, adding custom details, or creating entire miniatures from scratch, Green Stuff is a medium that rewards creativity and precision. Keep exploring, refining your skills, and most importantly, enjoy the process of bringing your imaginative visions to life.
 is here! Shop now, pay later in 4 easy installments

