Is your paintbrush beginning to resemble one of those cartoon characters who gets electrocuted in old cartoons? That’s obviously not good! However, with proper maintenance and upkeep, you can make your brush look brand new again. Do you want to know how? You're in luck, then! We'll be discussing how to maintain paint brushes, specifically how to do it by using GODHAND Brush Maintenance Starch. Let’s get right into it!
Summary
-
Different kinds of paint brushes
-
What is a brush maintenance starch and what does it do?
-
How to use maintenance starch (Step-by-Step Instructions)
-
Watch and learn by following our video
Type of Paint Brushes
In its most basic form, a paintbrush is a tool that is used to apply paint to a surface. There are several types of paintbrushes created with a specific purpose in mind, so we don't typically see someone painting with just any old paintbrush. Knowing the proper paintbrush for the job will ensure the quality of whatever you are creating and that you can provide the right care a specific brush type needs. Now then, without further ado, these are the various paintbrush types:
-
Natural brushes are one of the finest paintbrushes on the market. These delicate brushes are made of animal hair and bristles and are best suited for oil and watercolour painting.
-
Synthetic brushes are the most popular paintbrushes on the market. They are usually made of nylon or polyester bristles and are highly affordable and versatile.
-
Flagged brushes are the ideal brushes for sweeping fine powders and debris. The bristle’s ends are broken apart and bushy, resulting in one bristle becoming multiple.
Check our collection of brushes & cleaners here
Each type of paintbrush serves a specific purpose, as reflected by its shape. There are many different sizes and shapes available that are ideal for anything you might have in mind. These are the different paintbrush shapes and their uses:

-
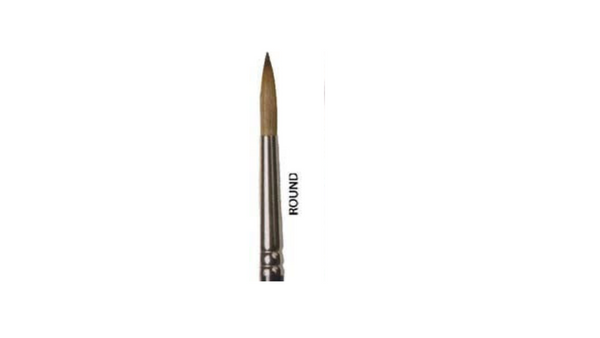
Round brush is the most commonly used paintbrush type; it is very versatile, has a sharp, pointy tip, and is frequently used in painting.
Check out our collection of round brushes here

-
Flat brush is a thin, broad brush with a flat tip that is available in various lengths. It is frequently used when painting edges and wide areas.
Check out our collection of flat brushes here

-
Filbert brush is a round brush with an oval tip. It is often used in acrylic and oil painting.
Check out our collection of filbert brushes here

-
Rigger or liner brush is a paintbrush that has long, thin bristles, used specifically to make fine lines.
Check out our collection of rigger brushes here
What is a Brush Maintenance Starch?
When brushes are brand new, the bristles are stiff and glued together. Did you ever wonder why? That’s because starch is holding all the bristles together. However, with continuous use, the starch that holds the bristles in place can wear thin, causing the brushes to look messy and fuzzy.
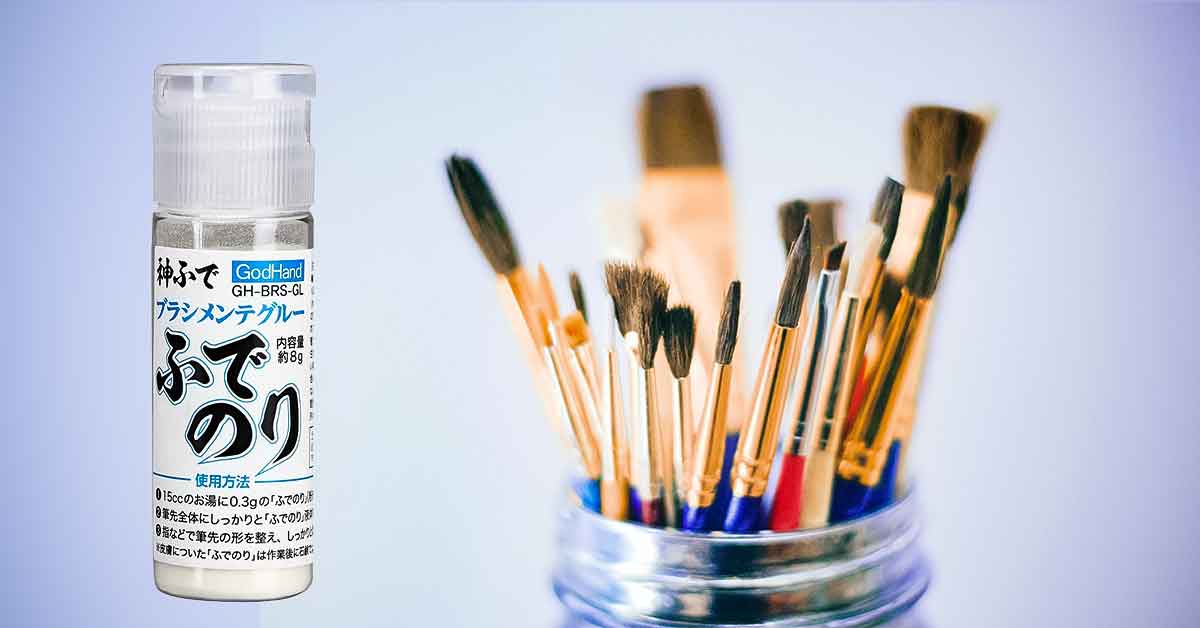
To combat that, a brush maintenance starch is used to restarch the paint brush. GODHAND Brush Maintenance Starch When it comes to paintbrush maintenance, starch is a must-have when it comes to restoring your paint brushes to how they appeared before being used, making your brush tips beautiful and functional again.
A Step by Step Guide to Clean Your Brushes
Maintaining your paint brushes in good shape is the best way to ensure that they will last a long time and perform well. However, just cleaning them isn’t enough. Restringing paintbrushes is also another thing you have to do. Restarching your brushes will help keep your brushes in tip-top condition and maintain a sharp edge.
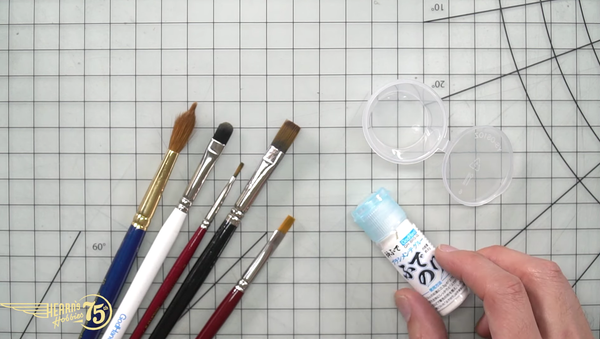
Materials you will need:
- GODHAND Brush Maintenance Starch
- Small container
- Hot water (90 °C or higher)
- Stirrer
How To Use GODHAND Brush Maintenance Starch
Step One: Pour
Fill a small container halfway with boiling water; the water should be at least 90 °C. We do this in order to prevent the starch from clumping.
Tip: For best results, use hot water straight from the kettle. Be very careful with it, though; you might scald yourself.
Step Two: Combine
Add 1.50 grams of GODHAND Brush Maintenance Starch to the hot water and stir constantly until the mixture is clear and no clumps are visible. This solution is what’s going to hold the bristles together.
Step Three: Dip
Dip the brush in the solution and do it until all the bristles are coated. Once it has absorbed a good amount of liquid, wipe some of the excess off at the edge of the container.
Step Four: Mold
Once you wipe off the excess liquid, you have probably already noticed a difference between the brush you started with and the one you're currently holding, but we’re still taking it a step further.
Using your hands, gently mold the brush by squeezing it in between your fingers, gliding it upwards until you’ve reached your desired shape; until a round brush has a pointy tip again or a flat brush has a nice sharp top.
Step Five: Set aside
Set your newly restored brush aside and wait for it to completely dry before using it.
Step Six: Admire your work
Give yourself a pat on the back for your hard work. It may not seem like much, but following these simple instructions for brush maintenance gave it a few more uses before wearing out, not to mention made it look brand new again!
Watch and learn!
Still a bit confused? Watch BJ as he demonstrates how to use the GodHand Brush Maintenance Starch step-by-step to keep your brush looking its best, all the time!
There you have it! Proper maintenance will help your paint brushes in the long run, so don’t forget to do it regularly. Remember: a little care comes a long way.
Have any tips up your sleeve? Feel free to drop them in the comments section below!
Also, make sure to follow us on Facebook, Instagram, Twitter, and Twitch!
 is here! Shop now, pay later in 4 easy installments

