


|
ParkZone- Just Fly
|
Summary
- TRAXXAS XRT 1/5 Scale 8s Brushless Electric X-Truck
- Unboxing the Traxxas XRT
- The Review
- Watch the Unboxing and Kit Review
TRAXXAS XRT 1/5 Scale 8s Brushless Electric X-Truck
The Traxxas XRT redefines what it means to be a racing truck. It is a fusion of Traxxas’ race-inspired design and engineering with the power and strength of X-Maxx, resulting in an all-new platform with sharp reflexes and unprecedented stability that is capable of exploiting the upper range of extreme 8s power and speed.
With its modified chassis at 1/5 scale, this truck is truly massive! Make no mistake, however, because this truck is speedy. Conquer every terrain with this incredible machine and smash through every obstacle in style. This RC comes in four different body colors: red, orange, blue, and green.
What is Inside the Traxxas XRT Box?
Inside a huge box sits the Traxxas XRT, and it is beautiful! This newest monster of a machine is a modified and redefined racing truck created for all the enthusiasts out there. Let us jump right into it!
Friendly reminder: If you have unboxed Traxxas RCs before, you might notice that the transmitter is placed just right at the opening of the box. Keep that in mind because it might jump at you. Try to unbox it as carefully as possible.
Wheels
The wheels come unattached, this is probably so they would fit inside the box snugly since the XRT is massive. it is BIG, and probably bigger than what you would expect. XRT’s Gravix race tires are a revolutionary new hybrid design that give outstanding grip on hard-packed surfaces along with fast and quiet running precision.
Chassis
At a glance, you would notice that the chassis are made in typical X-Maxx fashion, especially the arms. It has a performance-focused chassis design configured to lower the center of gravity for superior handling and stability.
Body
Because the XRT is from the latest generation, it features a patent-pending clipless body that can be installed and removed in just seconds! It is locked in place with incredible security and strength. It is a one-of-a-kind design that is constructed to minimize flex with external skids that are strategically placed to protect the body.
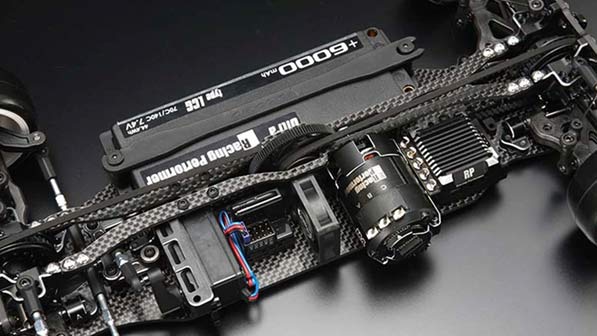
Motor
The truck runs on a brushless Velineon 1200XL "Big Block" motor. It has two V8 cooling fans and a huge V-shaped aluminum heat sink. It can run at up to 60 miles per hour with two 4S LiPo batteries and the included optional speed gear.
The Traxxas XRT Line
Traxxas came out with three different color variations of the XRT Line. Let’s check them out:
TRAXXAS XRT 1/5 Scale 8s Brushless Electric X-Truck - RED
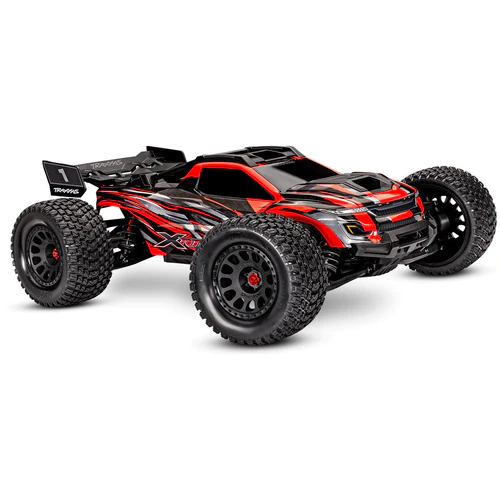
Get the TRAXXAS XRT 1/5 Scale 8s Brushless Electric X-Truck - RED here
TRAXXAS XRT 1/5 Scale 8s Brushless Electric X-Truck - ORANGE
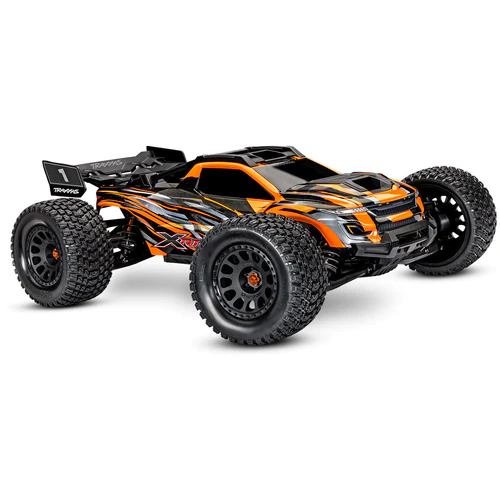
Get the TRAXXAS XRT 1/5 Scale 8s Brushless Electric X-Truck - ORANGE here
TRAXXAS XRT 1/5 Scale 8s Brushless Electric X-Truck - GREEN
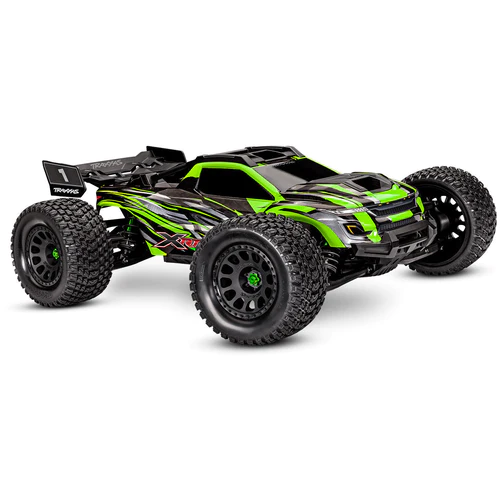
Get the TRAXXAS XRT 1/5 Scale 8s Brushless Electric X-Truck - GREEN here
TRAXXAS XRT 1/5 Scale 8s Brushless Electric X-Truck - BLUE
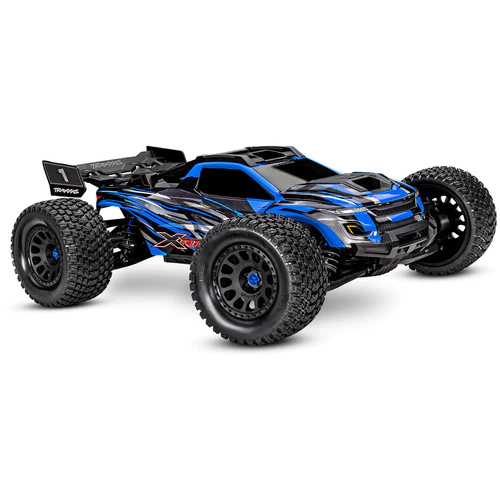
Get the TRAXXAS XRT 1/5 Scale 8s Brushless Electric X-Truck - BLUE here
In-depth Review of the Traxxas XRT
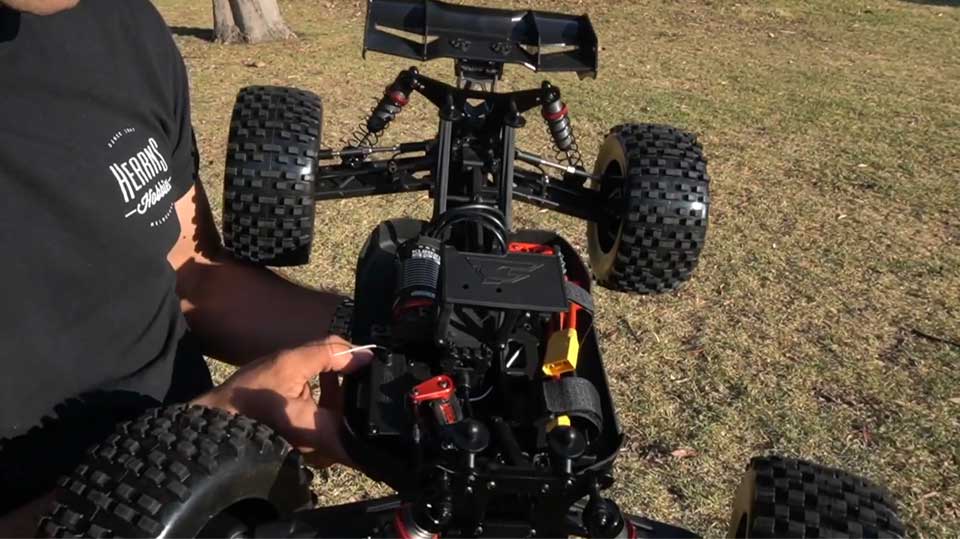
At first glance, you would probably associate the Traxxas XRT with the X-Maxx since it is based off the same design and concept; the rear transmission and centerpiece do look to be the same, as well as some other significant parts; however, the closer we look at it, it seems less like so. You might see this difference in how the front piece looks or how the center shaft comes through a lot higher on this model than others that came before.
The tires are much more versatile than the rest of the body and were designed to be more of an "all-rounder" type. Its flexible back wheel design is a really cool feature that you would surely feel when driving this thing on the track. They drive pretty well on the road and are stronger than your average X-Maxx, but you do have to be careful since their large size can make them more prone to damage.
It is definitely like an LCG, so not only can they hold their own when performing, they can do it better than an X-Maxx would. It has the same size differentials and same configuration shafts as the X-Maxx, along with a rubbery wheelie bar with great crash support in the wiggles. The exoskeleton and the decals, besides being absolutely huge, are beautifully made as well. Traxxas also went several steps further and put skid plates all over the body, so you knew it would be pretty robust.
As you would expect, the parts are huge! This is definitely going to sit a lot differently than the X-Maxx. The bodywork is absolutely beautiful, with some serious power paired up with it. Would you want one for yourself? Get yours now!
Check out the TRAXXAS XRT 1/5 Scale 8s Brushless Electric X-Truck Line here
Watch The Unboxing and Review
Watch Brett and BJ as they unbox the all-new Traxxas XRT 1/5-scale 8-s brushless electric X-Truck. Watch as they take this massive RC truck out of the box and review all its parts. What would they find out? Check it out in the video below!
At Hearns Hobbies, we offer a wide range of products for beginner and experienced RC enthusiasts. Find the best one for your needs and preferences here!
What do you want us to unbox next? Feel free to message us with your ideas!
Also, make sure to follow us on Facebook, Instagram, Twitter, and Twitch!
]]>